Skip to content

R&D Study / 2026

Hybrid Workflow

An in-house study that tests ADRM's hybrid workflow, which joins 3D previz and AI rendering in one production process, on a fictional premium SUV. 3D sets the vehicle's form and camera; AI renders the paint, light and space.

Study
3D × AI Automotive Film Study
Type
In-house research
Disciplines
3D Previz · AI Rendering · Automotive Film
Year
2026

01Film

Test film

5 shots · 2.39:1 · about 23 s · silent. Rendered by AI on the cameras set in 3D.

02Compare

One camera,
two renders

Each shot layers the previz and the AI render made from the same 3D camera. Move the divider to see the body lines, light bar, wheels and window graphics carry through.
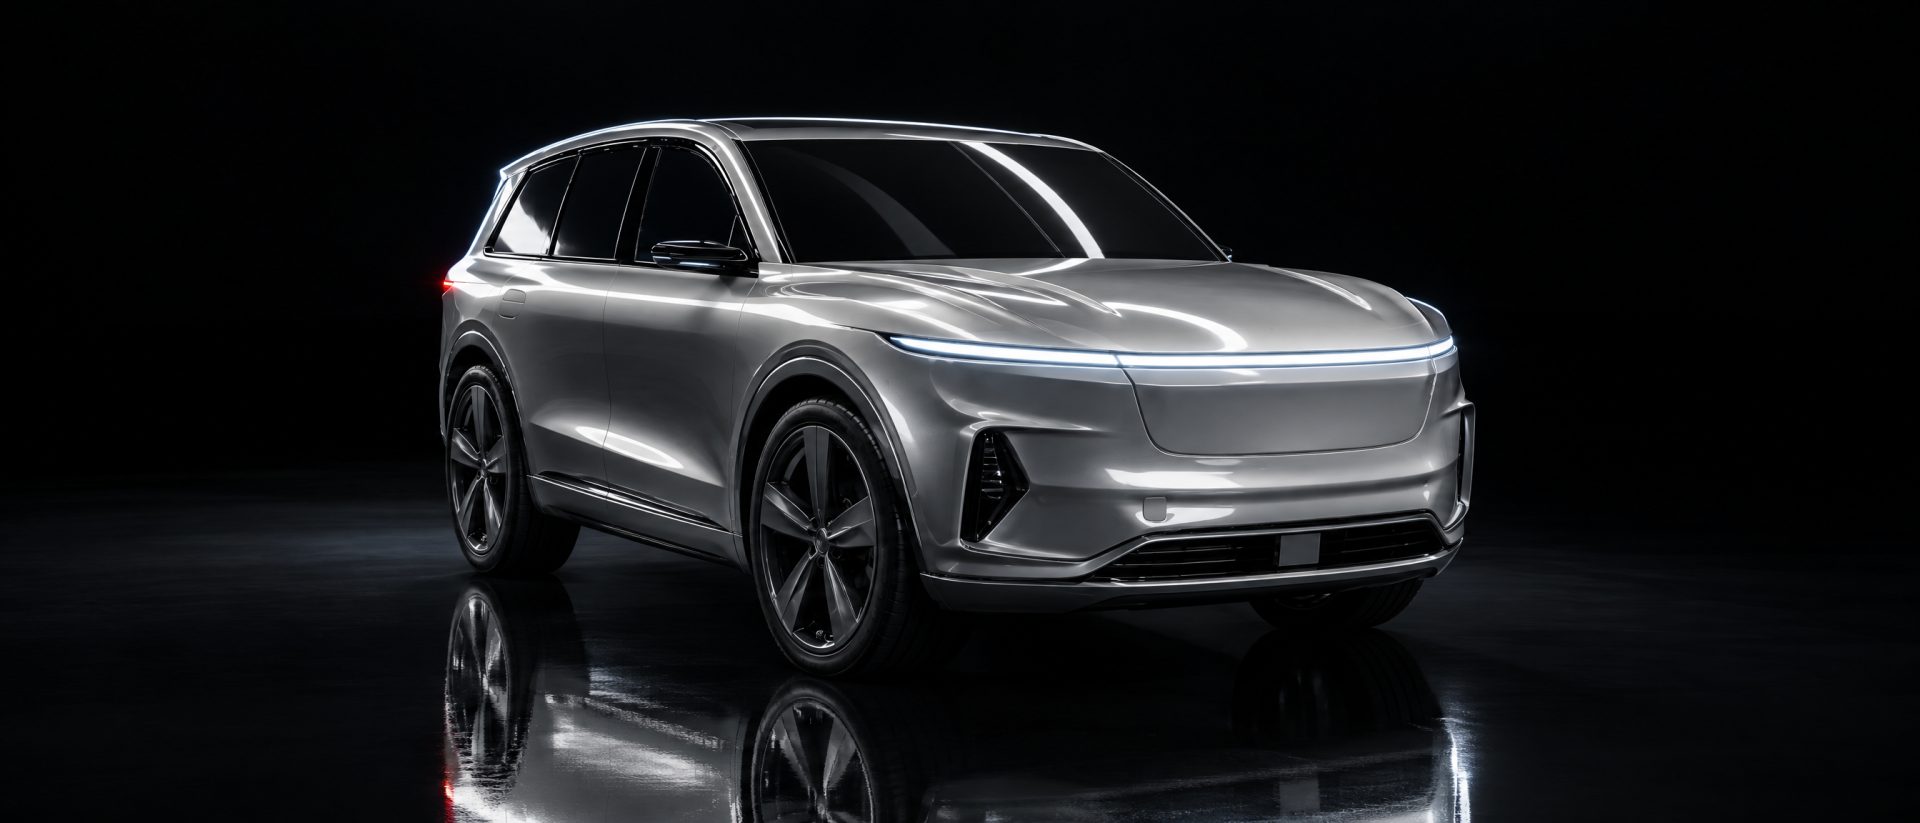
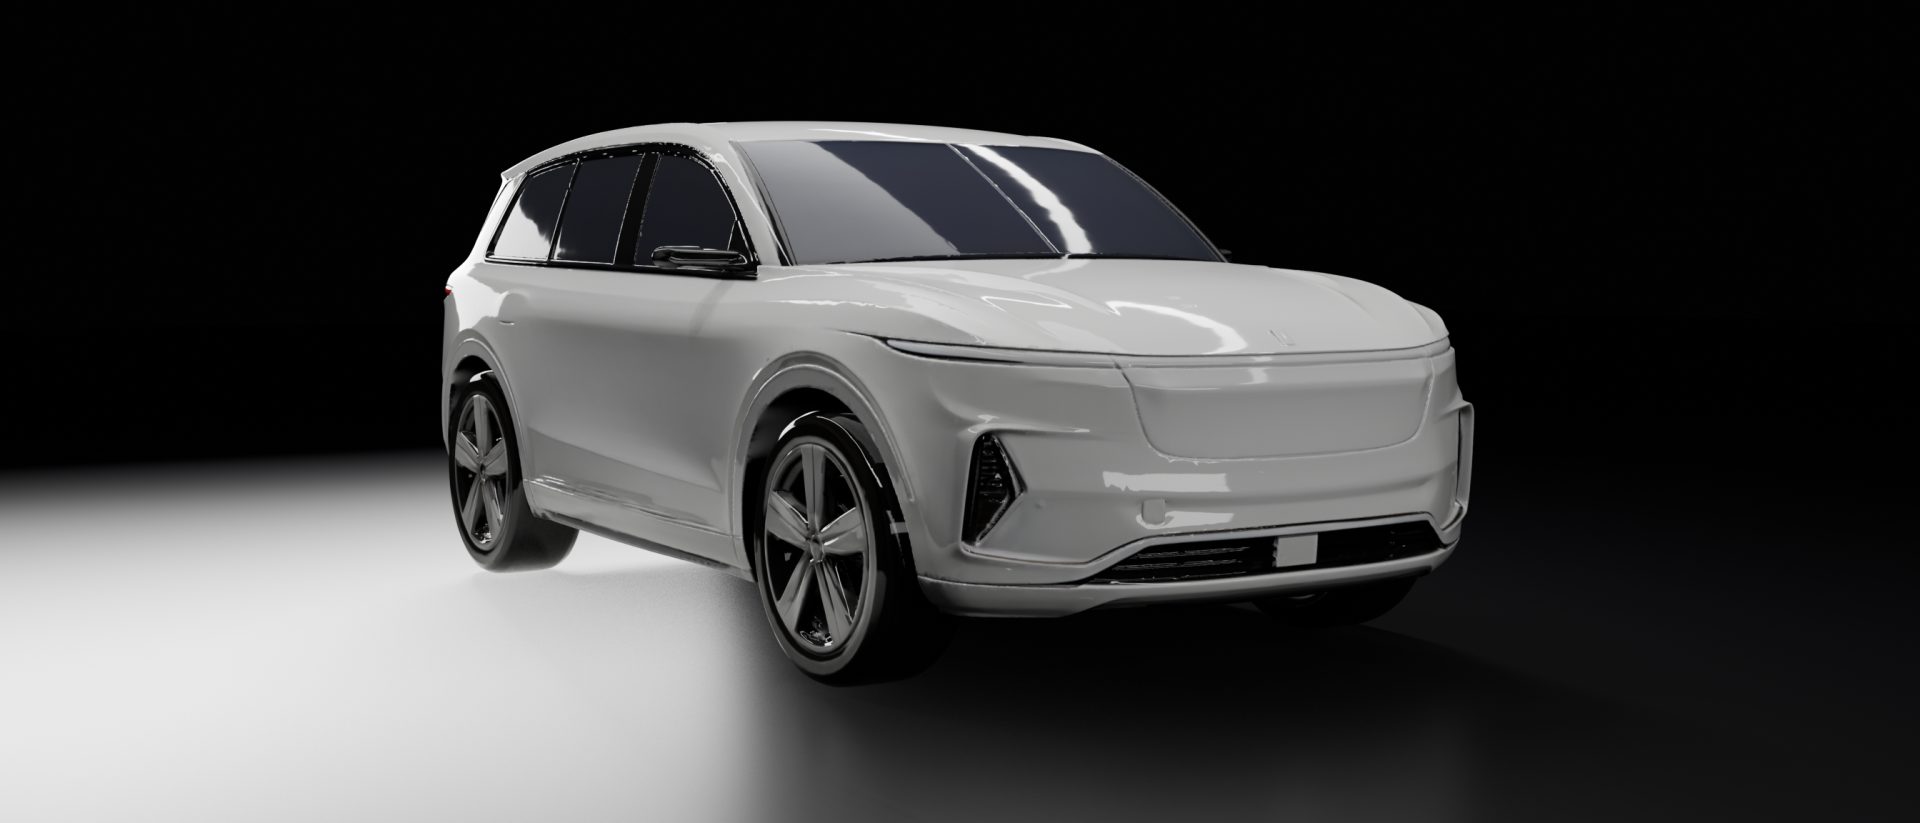
Fictional SUV, front three-quarter, AI renderFictional SUV, front three-quarter, 3D previz render

40mm · front three-quarter · push-in with arc

Previz-to-render comparison film

Previz-to-render comparison film. 3D previz on the left, AI render on the right; the divider sweeps once per shot.

03Form reference

Form reference:
3D data and product sheet

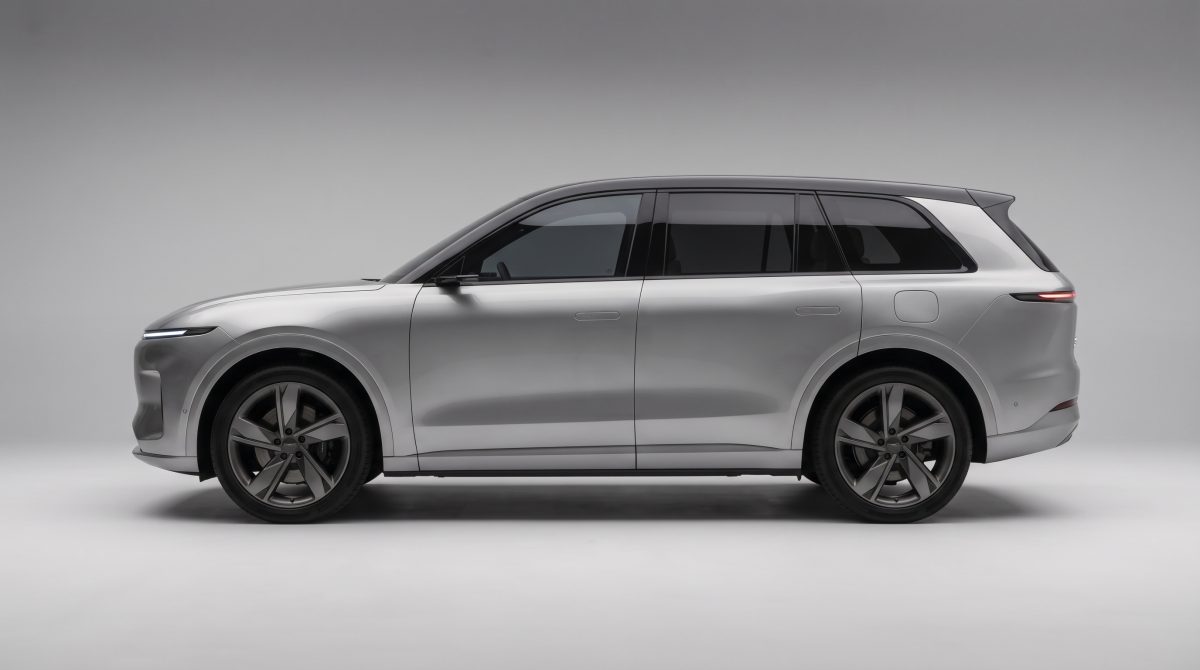
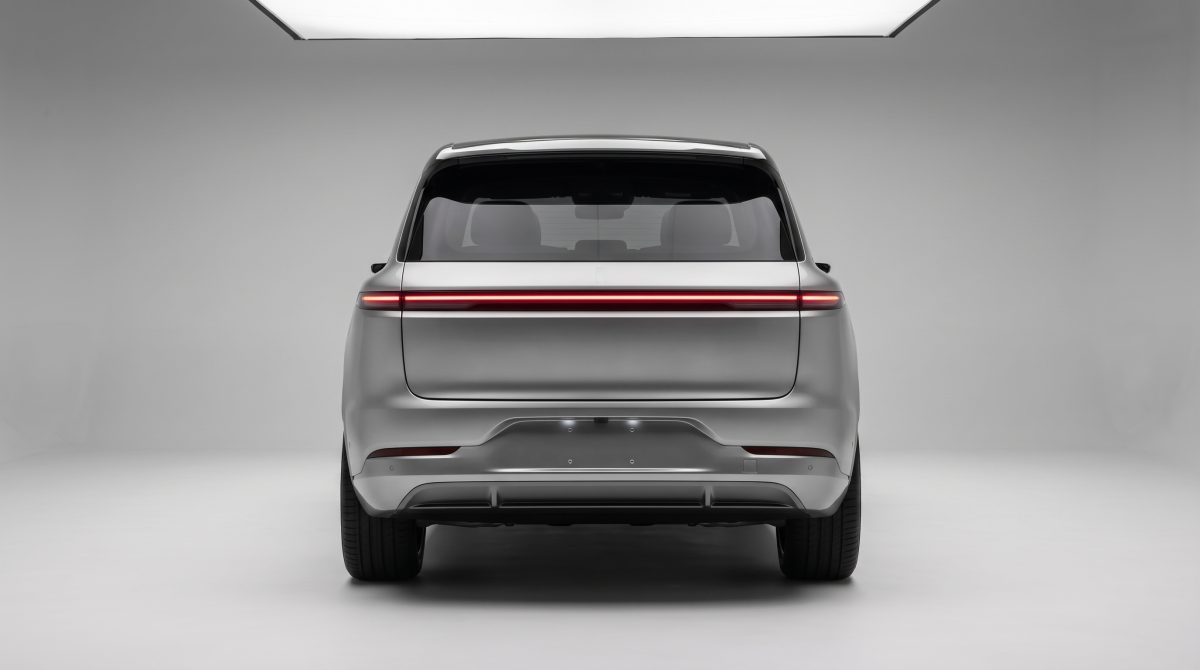
The AI follows two references. 3D data gives the same form from any angle, and the product sheet is the reference for the design seen from the front, side and rear.

Supplied 3D data makes it more accurate

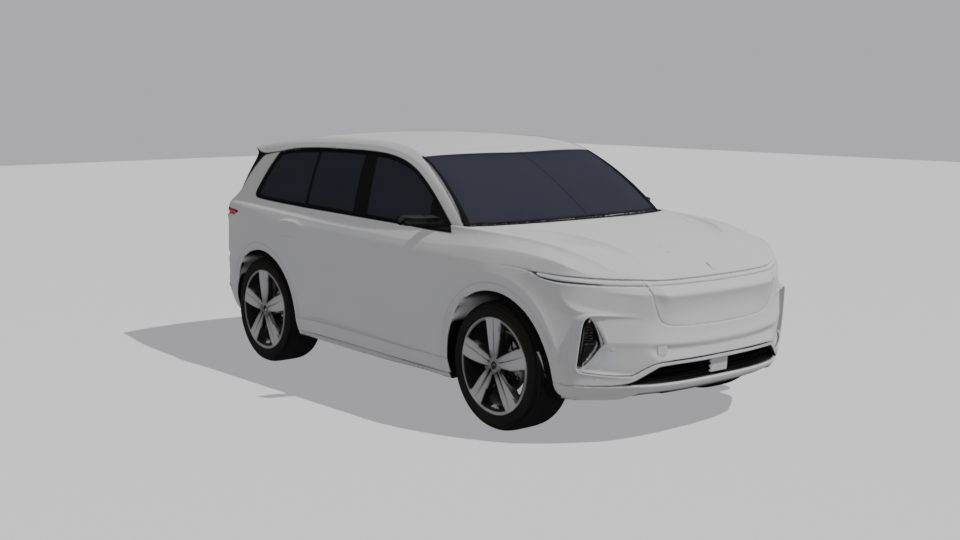
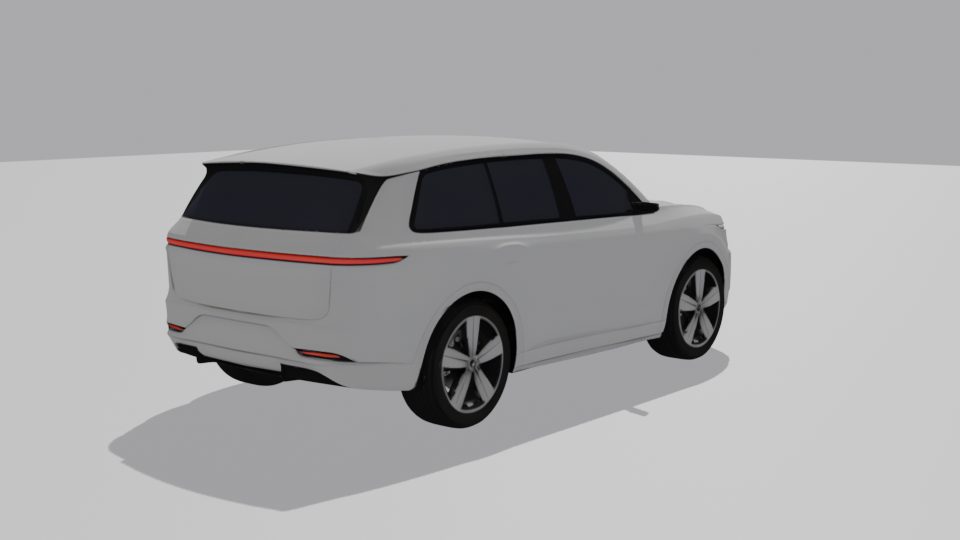
Source 3D data such as manufacturer CAD carries the real dimensions and surfaces. With it, the body lines, lamp graphics and emblem positions stay fixed to the original throughout production. Without it, we build 3D from the product sheet and use that as the reference. This study uses a fictional vehicle, so its 3D was built from four product-sheet views.
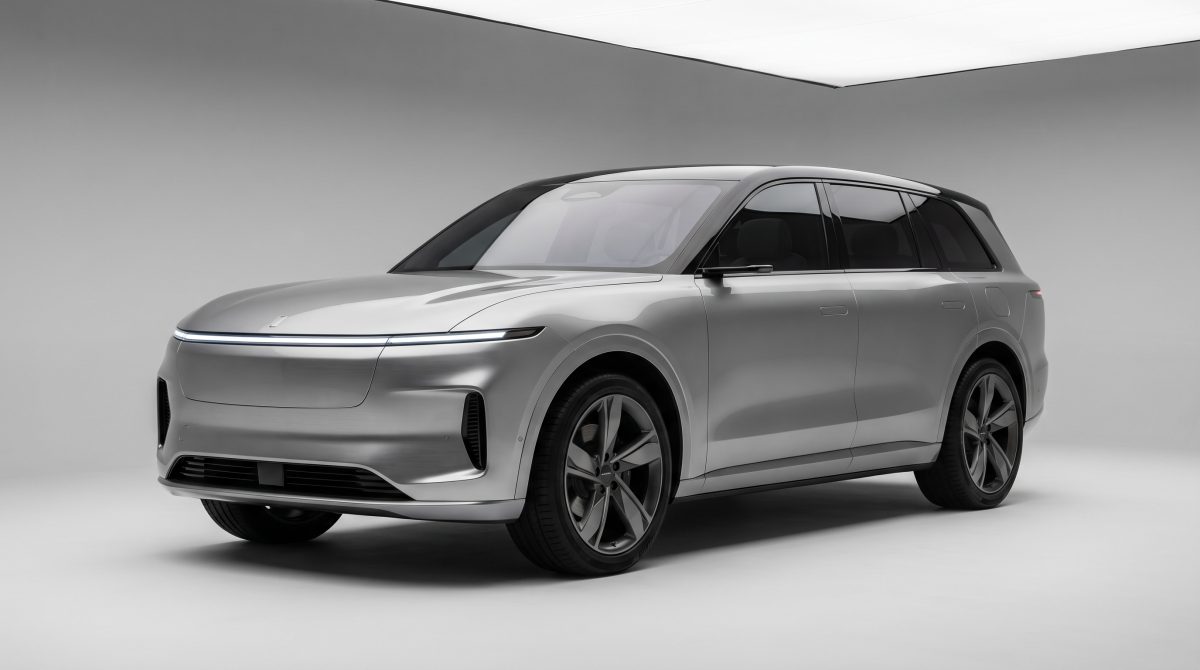
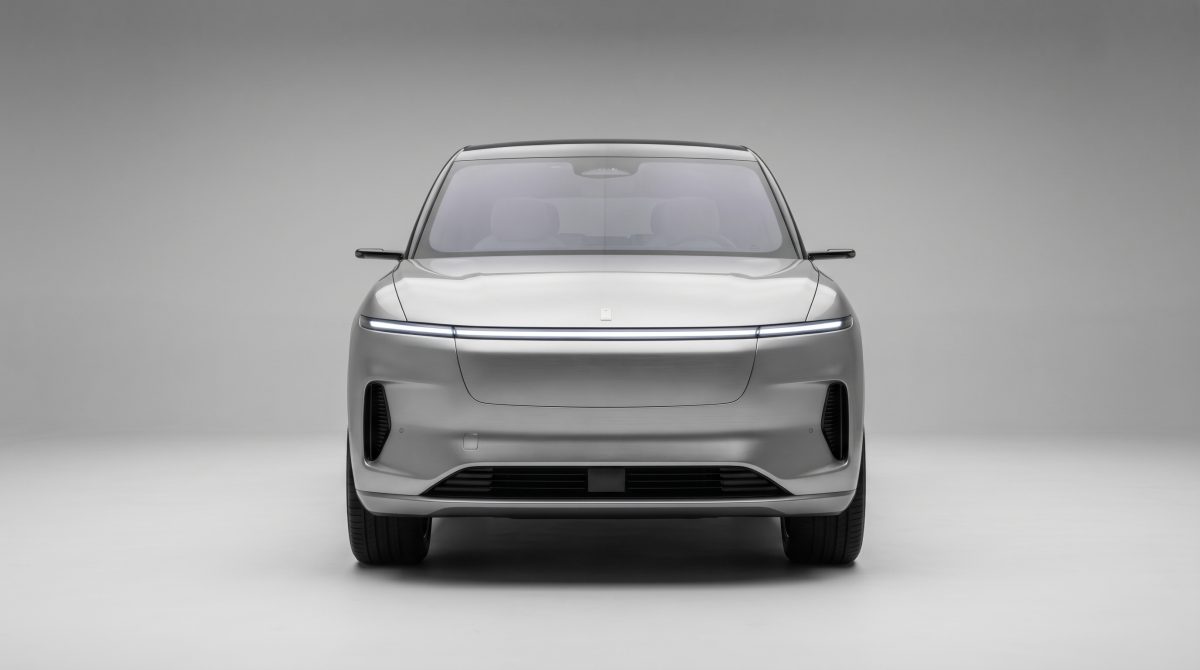
Product sheet, three-quarter viewProduct sheet, front viewProduct sheet, side viewProduct sheet, rear view

Product sheet

Product sheet: three-quarter, front, side and rear. The reference for the light bar, wheels, window graphics and rear lamp.
3D model, front three-quarter3D model, rear three-quarter

3D data

3D data built from the four product-sheet views (5.2 m long). Cameras and the animatic were set on this model.

04Process

Process

The order is fixed so the form and camera set in 3D hold to the last frame. This study had no reference film, so steps 01–02 were replaced by designing the cameras directly in 3D.

  1. 01

    Reference breakdown

    Break the reference film down frame by frame into shots, lenses, angles, camera moves and timing.
  2. 02

    Camera reconstruction

    Move each camera into 3D position, direction and field of view, rebuilding the framing on the real vehicle dimensions.
  3. 03

    3D data and camera animatic

    Place the supplied 3D data as is, or build 3D from the product sheet when there is none. Lock each camera move as a 3D animatic.
  4. 04

    Look key visual

    Create and approve the key visual that sets paint, light and space, on top of a 3D frame.
  5. 05

    Style transfer (AI render)

    Keep the 3D frame's form, framing and lamp and emblem positions, and apply only the key visual's surfaces and light to make each keyframe.
  6. 06

    Form check 1

    Gate

    Compare each keyframe with the 3D render from the same camera: body lines, light bar, wheels, window frames. Only passing keyframes go to video.
  7. 07

    AI video

    A video model fills the motion between approved start and end keyframes, along the same path and length as the animatic.
  8. 08

    Form check 2 and edit

    Gate

    Compare the finished clips with the animatic at the same moments, then regenerate or edit any section that drifts before delivery.

05Findings

Findings

01

When the product sheet was fed into style transfer alongside the 3D frame, the model followed the sheet photos and moved and turned the car. Using the sheet only to build the 3D, and passing just the 3D frame to style transfer, kept the form.

02

In the video stage, what drifted first was camera speed, not form. We added the animatic midpoint as an extra keyframe, or retimed the clip to the animatic timing.
Credit
Researched and produced in-house by ADRM. The vehicle is a fictional design and is not related to any brand or model.

Planning a project? Start with the scope and the schedule

Back to R&D